
Commercial Painting Services
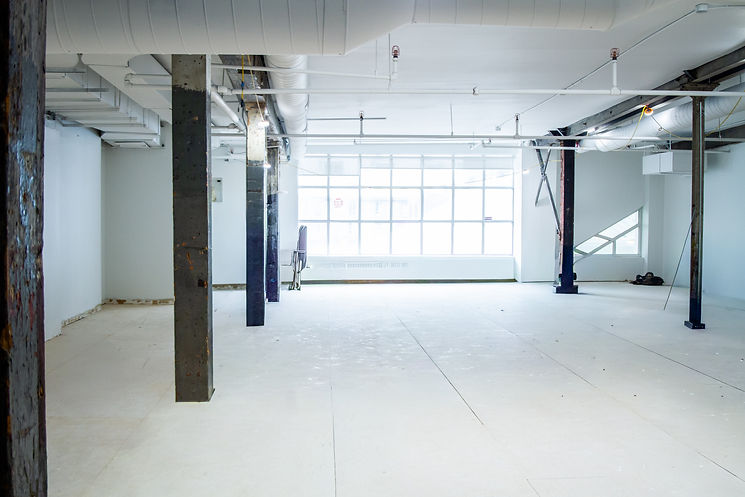
When it comes to commercial painting, schedule is the most important consideration. A delayed schedule could cost you thousands in liquidated damages and rent. That is why we emphasize showing up and finishing on-time. Our crews are able to work long hours and off-hours to ensure that your job is completed on schedule. We have a dedicated project manger for our commercial projects to coordinate and deal with any unforeseen circumstances.


Our Commercial Projects


The Finesse Promise
5 Year Warranty
Our team uses top of the line paints and never skip out on prep. That is why we offer a 5 year warranty on our interior painting jobs.
2 Year Maintenance
Life happens. That is why we include free 2-years of scheduled maintenance with full interior paint jobs. It doesn't matter if your dog scratched your wall, we will touch it up for you. This is limited to 1hr year and you must have the paint.
Dustless & Clean
Our team is equipped with the top of line dustless sanding equipment which allows us to prep your house in less time, keep your house clean, and save you money.
Our Commercial Painting Process
Step 1 - Planning, Setup, Staging & Masking
The first and most important step in a residential interior painting project is to protect the surrounding areas. We always allocate enough time so that our staff can protect your property and belongings. You can expect our crew to do the following:
-
Sealing off the rooms we are working in so that the dust and debris doesn't spread to other rooms.
-
Carefully move all of the furniture to the center of the rooms or to another area where we are not working.
-
Thoroughly cover the furniture with plastic
-
Protect the floors with dropcloths or construction paper. We use "purple" tape to ensure that the adhesive does not damage your floors and that the paint does not bleed thorough
-
Features such as wallpaper and kitchen cabinets are all masked with plastic to protect against overspray - especially in the case where ceilings are being painted.
-
In cases where the trim is being sprayed, we have to make sure that the masking is tight to the edges and seals all the areas.
-
We remove all switch covers & cover pot lights if there are any.


Step 2 - Priming & Spraying Ceilings with Dryfall
For commercial projects, we typically come in once the drywall has been finished prior to floors going in. We will first prime all of the new drywall and spray the ceilings with dryfall. This is usually done prior to the installation of the floors and trim to minimize the effects of overspray. If time permits, we may apply one coat on the walls. We will then wait till the floors and trim are in before returning to finish.


Step 3 - Prepping Trim & Walls
Step 3 is to thoroughly sand all the areas that were patched/repaired. This process smoothens the patch so that it can blend in with the rest of the surfaces. In addition to sanding down areas that were repaired, we also do a light sand to all of the walls and trim. A light sand helps to remove dust & texture and to give the paint a profile to adhere to. Our team uses Festool dust extractors with our sanders to provide a dustless experience while sanding.
Areas which were patched are then primed to seal in the filler/compound, promote adhesion and prevent flashing of the finish coat. We also look for stains (water marks, grease, pen, etc...) and prime them to prevent the colour from bleeding through the finish coat. The primer sometimes raises wood fibers or drywall compound so it is important to lightly sand those areas after.


Step 4 - Applying Paint to the interior surfaces
After all the prep work is complete, we are finally ready to paint. Our order of painting is:
-
Cut & roll the ceilings
-
Roll the first coat of paint on the wall
-
Apply 2 coats of paint on the trim
-
Cut the walls in
-
Cut the 2nd coat of paint on the walls
-
Roll the 2nd coat of paint on the walls
The reason we roll before cutting on the first coat is because it allows us to see if we missed any holes or areas that need to be filled. We can then fill those areas and let them dry while we paint the trim and cut the walls (which takes more time). On the second coat we always cut first and then roll to hide brush marks and prevent flashing.
Our Reviews
5/5
Lorne Bossin

We recently hired Finesse Finish Painters for the third time. This time they stained our deck. Ramone and the entire team did an excellent job of sanding the deck and then appling two coats of stain. Vince is an excellent communicator and organized the job throughout. The deck looks fantastic and the job was completed in the requested time frame. We really appreciate the job they did and the time spent. I would highly recommend them for any painting job inside or outside!
2025
- 145Page 2
Commercial Painting FAQ
Q: Do you cover the floors & furniture?
Prior to starting work, our team covers the floors with drop clothes and floor paper to ensure that your floors are protected. We move all the furniture to the center of the room and cover them with plastic to protect them against overspray or spills
Q: Does your team clean up after themselves?
Our team cleans up daily and in full upon completion so your home never looks like a mess. We use dust extractors while working which minimizes the amount of dust in your home.
Q: Do you offer a warranty?
We offer a 5-year warranty. If you find any failures such as peeling paint, we will come back and fix it for free.
Q: What is your payment schedule?
We require a 30% deposit to lock in your spot. After the job is complete and your are satisfied, all outstanding amounts are due.
Q: Do you fill in holes prior to painting?
Our typical package includes two rounds of filling. We will fill holes, scratches and knicks on the walls and trim. The first round of filling happens prior to applying the first coat of paint and then the second round after the first coat of paint.
Q: Do you have liability insurance?
We have liability insurance up to $2,000,000
Q: Do your prices include paint?
Our prices include all paint, materials and labour. This helps ensure that there are no hidden costs.
Q: How many coats of paint do you apply?
Standard packages include 2 finish coats of paint. This is usually sufficient if the new colour is similar to the one underneath. Deeper colours can require more coats of paint. Covering over darker colours can also require more coats of paint. It is not always possible to predict the coverage of a colour so additional coats of paint can incur extra costs.
Paints We Use For Interior Painting
#1 Benjamin Moore - Regal Select
Our favourite paint to use for interior painting is Benjamin Moore's second top of the line paint, Regal Select. Though not as prestigious as Benjamin Moore's Aura (Benny Moore's top of the line paint), Regal Select is the overall better value for interior painting projects (we only recommend Aura if you are painting your condo a deep colour). Regal Select is thick, covers well, dries fast and looks smooth on walls. Regal boasts exceptional cleanability, even in a matte finish. That means you can wipe & wash your walls without worrying about the paint fading off. This product is self-priming so you can apply it directly to your walls unless there are stains underneath.
Pricing: $94.99 +HST / gallon
